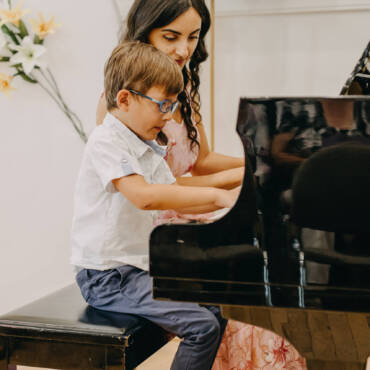
After you’ve hired your teacher:
Congratulations!
You’ve done your research and you’ve found a qualified, and professional piano instructor for your child.
Hopefully now you’ve completed all the necessary tasks: you’ve registered for lessons, you’ve met the teacher, visited the legitimate studio, and you’ve selected your weekly lesson time. So what’s next?
Follow these 10 tips to help prepare your child for the start of their new musical journey:
Things You Need to do Before The First Lesson
#1: Make sure you have an instrument for your child to practice on.
You would think this is basic knowledge, but unfortunately, parents need to be reminded of this. How can you practice hockey without hockey skates? How can you practice basketball without a basket ball? Practicing piano needs to occur more than just at lessons so having a piano or keyboard at home is a must.
You don’t need a Grand Piano or even an upright piano to start, but you need at minimum a full keyboard (meaning it has all 88 keys), touch-sensitive keys, and functioning pedals. You can think of upgrading to a piano at a later time. Keyboards can range anywhere from $200 to $2000 and they have an amazing variety with weighted and touch-sensitive keys, connected pedals, etc. There are so many options for keyboards these days that there really isn’t an excuse. Unlike pianos, keyboards don’t lose value with time (unless it has been physically damaged of course) so buying a keyboard online, even from Kijiji or Facebook Marketplace, is still a great option for a starting piano student.
I can tell you from experience that if your child does not have a full-sized keyboard to practice on they will most likely not reach their full potential and will eventually fall behind in learning. They also might not be as motivated to practice on a small “toy” that they will quickly outgrow rather than if they have their own large keyboard and their own space. Another point is that they will develop improper hand technique if the keyboard is not at a normal height with a proper bench, etc. Poor technique takes years to correct and becomes a big nuisance for the child and teacher.
How important are pedals? Within the first year to two years minimum your child will already be implementing pedalled pieces and without having actual pedals to practice with, your child will not know what his or her piece is supposed to sound like. Later into their instruction, students begin “pedal changes” where you need to be lifting and clearing the pedal throughout your piece. This is a very important part of piano playing and again, without an actual pedal to practice on, it will leave your child frustrated and regressing in their musical studies.
Why touch-sensitive keys? Weighted keys with touch-sensitivity allows your child to create dynamics while they play (meaning loud and soft sounds). This allows them to practice using techniques such as arm weight and strong fingertip playing. Again, without this the student will develop improper piano technique, leading to a very couple of frustrating years with the piano teacher trying to correct it. Most keyboards now include weighted keys with touch sensitivity which feel similar to a real piano’s keys.
If you still are having trouble finding or deciding on a keyboard, ask your piano teacher! They will be able to provide more detailed information.
#2. You need a bench or chair for Piano Use Only.
Along with providing a piano for your child, make sure to include a proper bench or height-adjustable chair that is dedicated to piano use only. This bench/chair will stay with the piano at all times and is not one to be swapped out from time to time to other areas of your home. Height-adjustable benches and chairs can be pricey so many parents use a pillow to boost their child to the proper piano height as an alternative, which is acceptable at a young age. You should be getting more instruction on height and distance for your child at the piano from your teacher.
#3. Make sure you and your child understand what is expected from the teacher.
Your teacher will be expecting parental involvement during at-home practices and consistent practicing to be completed every week. It is never too early to start setting a practice routine. Setting a routine is the easiest way to ensure that your student will be practicing and progressing every week in their musical studies. Some examples: Practice occurs right after school. Practice occurs right after dinner. Practice occurs after breakfast. Etc. Whatever works for you.
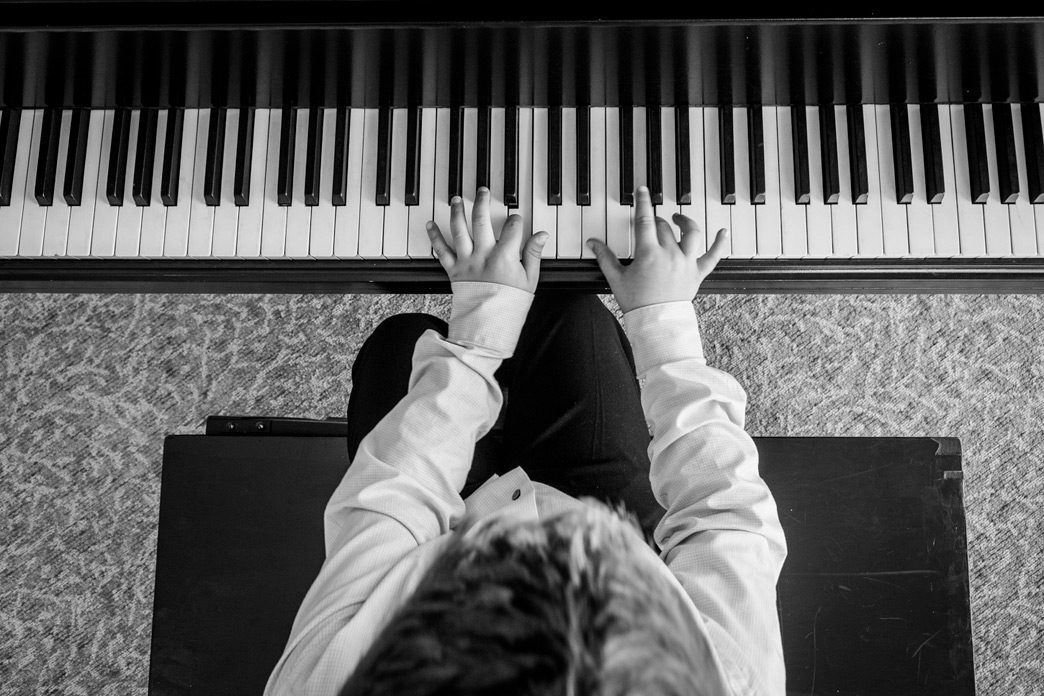
 #4. Familiarize yourself and your child with parts of the piano.
Things you can discuss: Black keys vs white keys, pedals, the music stand, the bench. Low-sounding keys vs highsounding keys. Loud playing vs soft playing. Holding keys down to create long sounds vs letting go of keys early to create short sounds, etc. These are all small tasks you can do with your child, even in game-like fashion to help develop a creative and music-inspired mind and begin their musical education journey.
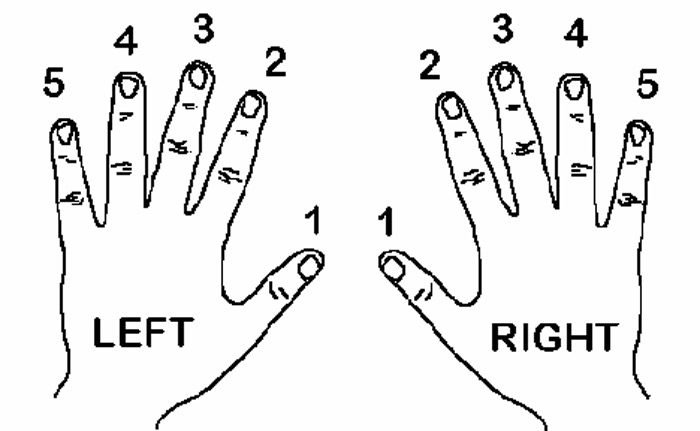
#5. Make sure your child knows the difference between Right Hand and Left Hand.
This is huge! You can work on this well before lessons begin. This simple task will save a lot of upcoming lesson time and save you from frustrated practices.
#6. Make sure your child knows their Alphabet (or at least A through G).
All music uses the first 7 letters of the alphabet: A, B, C, D, E, F, G. Practice having your child name these out loud, identifying them (capital letters only required), and even trying to draw them if they can. They should also be able to know the order of the letters. Obviously this depends on their age and some beginner teaching methods do not start with the music letters until further into instruction. However this will save so much time in future lessons, thus making the most of your paid time.
#7. Start on Finger Numbers
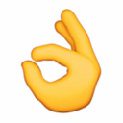
#8. Start with Simple Finger Exercises every day.
This is another huge one! Young children are still building their dexterity and coordination at a young age so small finger exercises are extremely important. An easy example of a finger exercise for a young beginner would be to make the “OK” Gesture with each finger. Connecting the tip of their thumb to the tip of Finger 2, then Fingers 3, 4, 5 might sound easy but for a young child however it may take more concentration and strength than you can imagine.
After the first lessons you will have more instruction from your teacher on simple exercises but it is never too early to start these simple stretches.
#9. Set up the instrument in a proper location, but not secluded.
Situate your piano in a location that is free of distraction, in a quiet and focused spot in your home. Children can easily be distracted by TVs, tablets, younger siblings, etc. so keep it away from busy areas. However keeping your piano in a far-away spot such as a basement den or garage means that your child will most likely forget it exists. A dedicated area will help your child focus when practicing at home. Choose what you feel is right for your home and your child.
#10. If you already have a piano – make sure it’s tuned!
I always tell my studio families that pianos are like cars – they need regular and proper maintenance. An upright piano typically needs one tuning per year to keep it in excellent condition and have a regular check up by a professional. Piano tuners are some of the friendliest people you’ll ever meet and will guide you through proper procedures on how to take care of a piano (if you haven’t already been!) This includes keeping your piano in a temperature-controlled room with consistent comfortable humidity. Another downside of a piano in poor condition: the students will have a hard time understanding what their songs are supposed to sound like. This can lead to a poorly developed musical ear.
Where to find a piano tuner? Ask your teacher! Google works, too.